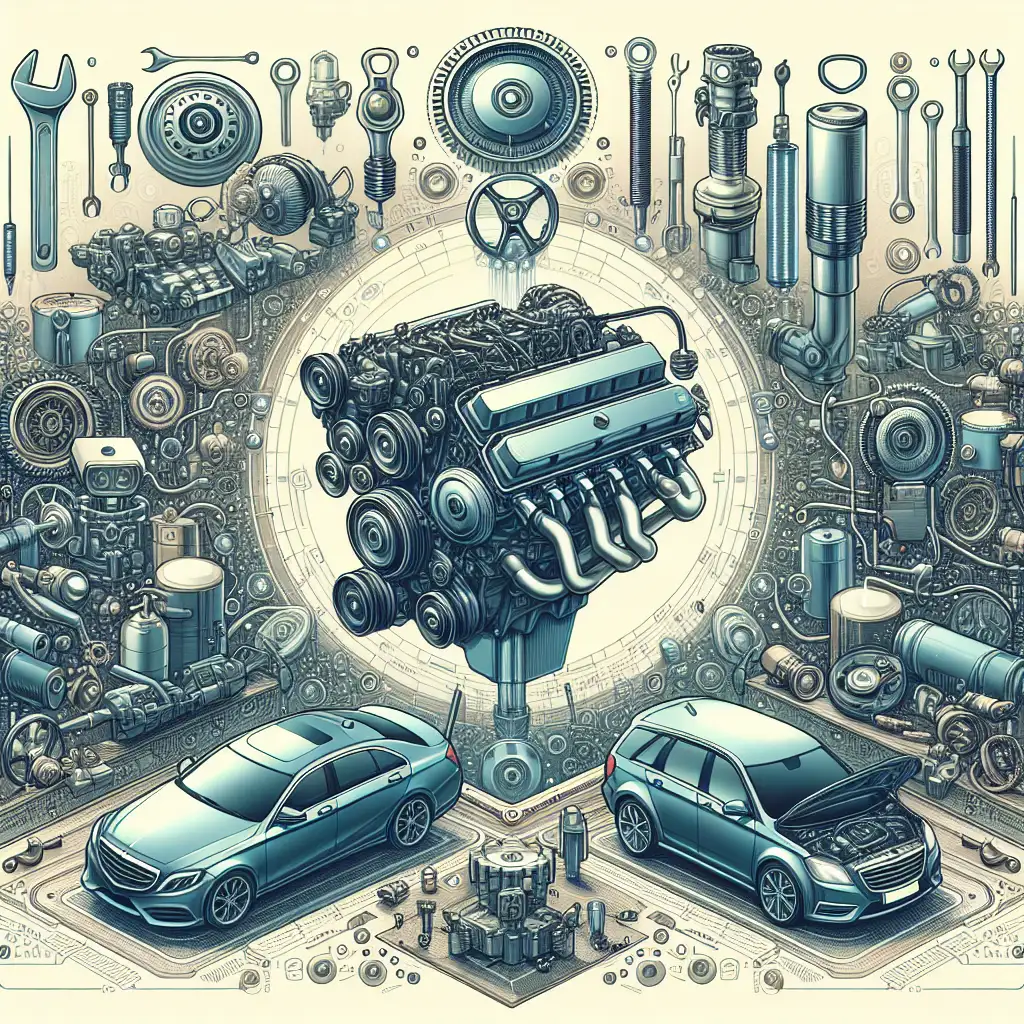
Engine Restoration: Bringing the Heart Back to Life
A Step-by-Step Guide to Rebuilding or Refurbishing an Old Engine

Restoring an old engine can be a rewarding project, whether you're a car enthusiast or someone looking to breathe new life into a beloved vehicle. An engine is often referred to as the heart of a car, and just like any heart, it needs care and attention to keep running smoothly. This guide will walk you through the essential steps of engine restoration, helping you understand the process and make informed decisions.
Understanding Engine Restoration
Before diving into the restoration process, it's important to understand what engine restoration entails. Essentially, it involves either rebuilding or refurbishing an engine to improve its performance and extend its lifespan. Rebuilding typically means disassembling the engine, cleaning, repairing, or replacing worn parts, and then reassembling it. Refurbishing might involve less extensive work, such as cleaning and replacing a few key components.
Key Terms to Know
- Rebuilding: A comprehensive process that involves taking the engine apart, inspecting each component, and replacing or repairing parts as needed.
- Refurbishing: A less intensive process that focuses on cleaning and replacing specific parts to improve engine performance.
- Compression: The pressure created in the engine's cylinders, crucial for engine efficiency.
- Gaskets: Seals that prevent leaks between different engine parts.
Steps to Rebuild or Refurbish an Old Engine
Restoring an engine can be broken down into several key steps. Here's a detailed look at each stage:
1. Assessment and Planning
Start by assessing the engine's condition. Check for visible damage, leaks, or unusual noises. This will help you decide whether a full rebuild or a simple refurbishment is needed. Planning is crucial, so make a list of parts and tools you'll need.
2. Disassembly
Carefully disassemble the engine, keeping track of each part. Take photos or label components to ensure you know where everything goes during reassembly. This step is crucial for a successful rebuild.
3. Cleaning
Thoroughly clean all engine parts. Use degreasers and brushes to remove grime and carbon deposits. Clean parts ensure better performance and longevity.
4. Inspection and Repair
Inspect each component for wear and damage. Check the pistons, cylinders, and gaskets. Replace any parts that are beyond repair. This step is vital for ensuring the engine runs smoothly.
5. Reassembly
Once all parts are cleaned and repaired, begin reassembling the engine. Follow the reverse order of disassembly, ensuring all components are correctly aligned and torqued (tightened) to specifications.
6. Testing
After reassembly, test the engine. Start it up and listen for any unusual sounds. Check for leaks and ensure the engine runs smoothly. This is the moment of truth for your restoration project.
Comparisons and Considerations
When deciding between rebuilding and refurbishing, consider the engine's age, condition, and your budget. Rebuilding is more comprehensive and can extend the engine's life significantly, but it's also more expensive and time-consuming. Refurbishing is quicker and cheaper but may not address all underlying issues.
Conclusion
Engine restoration is a detailed process that requires patience and attention to detail. Whether you choose to rebuild or refurbish, understanding each step will help you make informed decisions and achieve the best results. Think about what your engine needs and what you're willing to invest in terms of time and money. Happy restoring!
Remember, the key to a successful engine restoration is careful planning and execution. Consider what features matter most to you. Do you need a complete overhaul, or will a few tweaks suffice?
 CarChooser