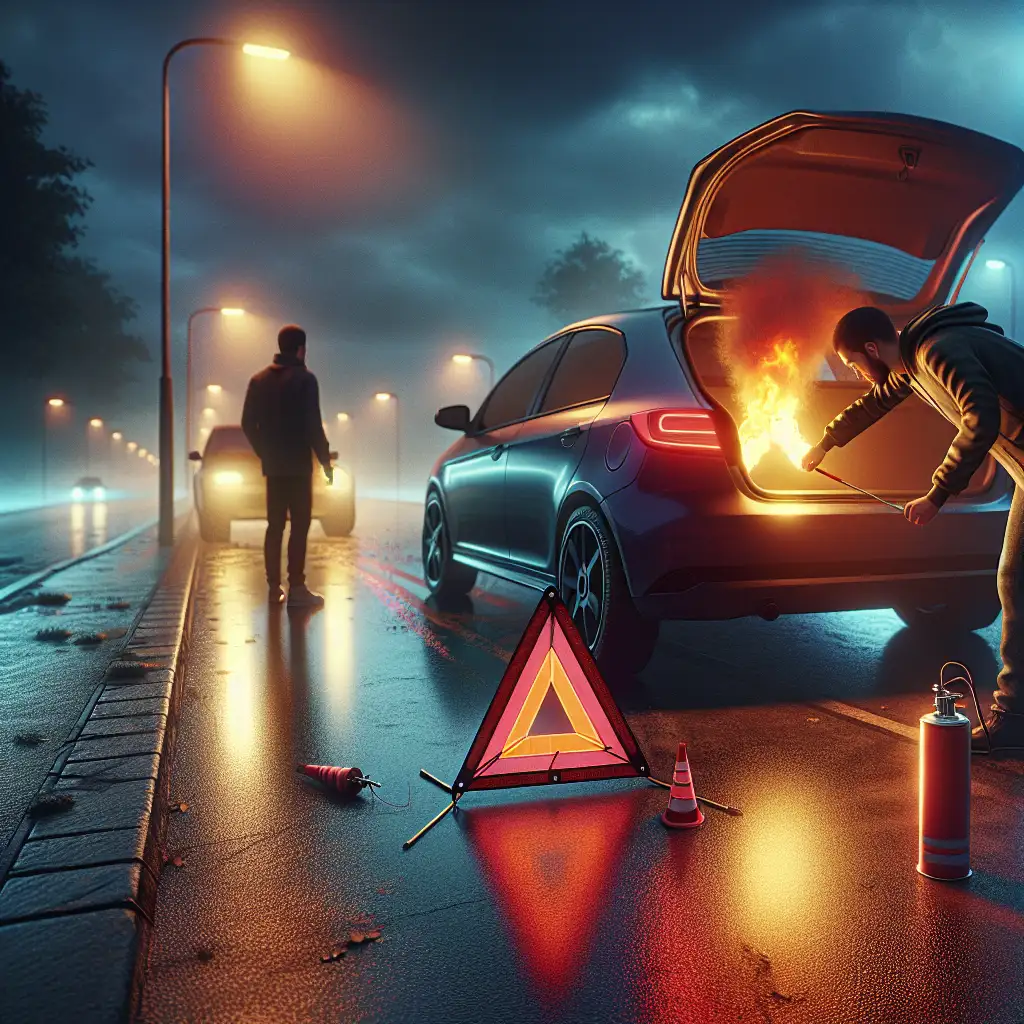
How to Use Emergency Flares and Reflective Triangles: Guidelines for Alerting Other Drivers During a Breakdown
Learn how to safely use emergency flares and reflective triangles to alert other drivers during a roadside breakdown.

Breaking down on the side of the road can be a stressful experience, especially if you're not sure how to alert other drivers to your situation. Using emergency flares and reflective triangles can significantly enhance your safety by making your vehicle more visible. In this article, we'll guide you through the steps of using these essential safety tools effectively.
Understanding Emergency Flares and Reflective Triangles
Before diving into the how-to, let's define what emergency flares and reflective triangles are. Emergency flares are devices that produce a bright light, usually red, to signal distress or alert others to your presence. They can be either traditional pyrotechnic flares or modern LED versions. Reflective triangles, on the other hand, are non-light-emitting devices that reflect headlights to alert drivers of a stationary vehicle ahead.
Both tools are crucial for roadside safety, especially in low-visibility conditions such as nighttime, fog, or heavy rain. They help prevent accidents by giving other drivers ample warning to slow down and navigate safely around your vehicle.
How to Use Emergency Flares
Using emergency flares is straightforward, but it's important to follow these steps to ensure your safety:
- Step 1: Safely exit your vehicle. Always exit on the side away from traffic, if possible.
- Step 2: Retrieve your flares from your emergency kit. If you have pyrotechnic flares, ensure you have a way to ignite them, such as matches or a lighter.
- Step 3: Place the first flare about 15 feet (approximately 4.5 meters) behind your vehicle. This gives approaching drivers an initial warning.
- Step 4: Place additional flares at increasing distances, such as 30 feet (9 meters) and 60 feet (18 meters) behind your vehicle, to create a visible path for oncoming traffic.
- Step 5: If you have extra flares, consider placing one in front of your vehicle, especially if you're on a two-way road.
How to Use Reflective Triangles
Reflective triangles are easy to use and require no ignition. Here's how to set them up:
- Step 1: Safely exit your vehicle, just as you would when using flares.
- Step 2: Assemble the triangle according to the manufacturer's instructions. Most triangles fold out and lock into place.
- Step 3: Place the first triangle about 10 feet (3 meters) behind your vehicle.
- Step 4: Place the second triangle about 100 feet (30 meters) behind your vehicle. This distance provides ample warning for drivers traveling at higher speeds.
- Step 5: If you have a third triangle, place it about 200 feet (60 meters) behind your vehicle for maximum visibility.
Comparing Flares and Triangles
Both emergency flares and reflective triangles have their advantages. Flares are highly visible in all weather conditions and can be seen from a distance, making them ideal for nighttime use. However, they have a limited burn time and require careful handling. Reflective triangles, while not as visible in complete darkness, are reusable, easy to set up, and pose no fire risk.
Conclusion
In conclusion, knowing how to use emergency flares and reflective triangles can greatly enhance your safety during a roadside breakdown. By following the steps outlined above, you can effectively alert other drivers and reduce the risk of accidents. Remember, safety first! Always carry these tools in your vehicle and familiarize yourself with their use before an emergency arises.
Think about what features matter most to you. Do you need extra visibility at night, or do you prefer a reusable option? Consider keeping both flares and triangles in your car for comprehensive safety coverage.
 CarChooser