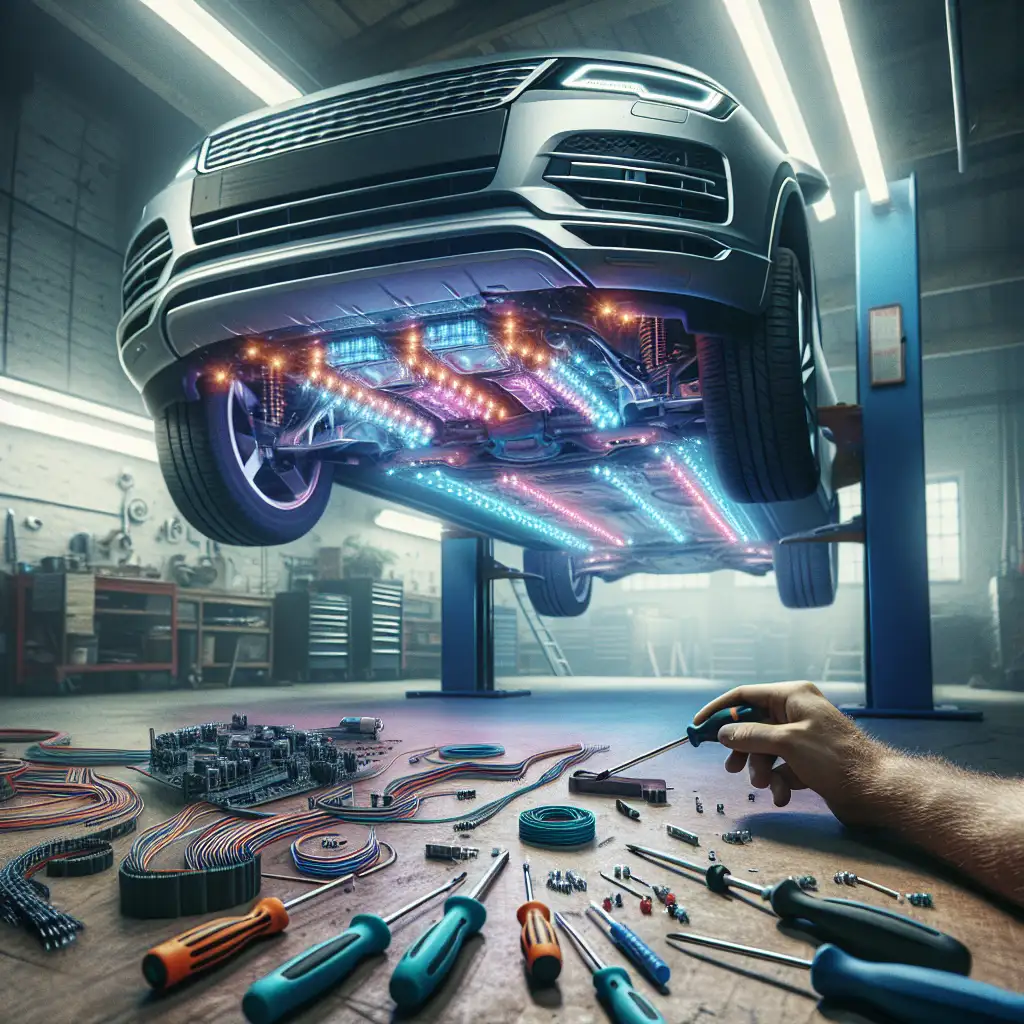
DIY Underbody Lighting Installation: Add Flair to Your Car with Underglow Lights
Learn how to install underbody lighting on your car at home with this easy-to-follow guide.

Have you ever seen a car cruising down the street with a colorful glow emanating from underneath? That's the magic of underbody lighting, also known as underglow lights. These lights can add a unique flair to your vehicle, making it stand out in the crowd. The good news is, you don't need to be a professional mechanic to install them. With a little patience and the right tools, you can do it yourself at home. In this guide, we'll walk you through the process of installing underbody lighting on your car.
Understanding Underglow Lights
Before diving into the installation process, let's clarify what underglow lights are. Underglow lights are LED strips or tubes that are mounted on the underside of a vehicle. They emit a colorful glow that can be customized to your preference. These lights are popular for their aesthetic appeal and the ability to make your car more visible at night.
There are two main types of underglow lights:
- LED Strips: These are flexible and can be easily attached to the contours of your car's underbody. They are energy-efficient and come in various colors.
- Neon Tubes: These provide a brighter and more uniform glow but are less flexible than LED strips. They are also more fragile and can be prone to breakage.
When choosing underglow lights, consider factors like durability, brightness, and ease of installation. LED strips are generally recommended for beginners due to their flexibility and ease of use.
Step-by-Step Installation Guide
Now that you know what underglow lights are, let's get into the installation process. Here's a step-by-step guide to help you install these lights on your car:
- Gather Your Tools and Materials: You'll need underglow lights, a power drill, screws, zip ties, a wire stripper, and electrical tape. Make sure you have everything ready before you start.
- Plan the Layout: Before attaching the lights, plan where you want to place them. Typically, they are installed along the sides, front, and rear of the car's underbody.
- Clean the Surface: Use a cloth to clean the areas where you'll attach the lights. This ensures a strong adhesive bond.
- Attach the Lights: Use the adhesive backing on the LED strips or the mounting brackets for neon tubes to attach the lights to the car's underbody. Secure them with zip ties for extra stability.
- Connect the Wiring: Run the wires to the car's battery or fuse box. Use a wire stripper to expose the wire ends and connect them securely. Wrap the connections with electrical tape to prevent moisture damage.
- Test the Lights: Before finalizing the installation, test the lights to ensure they work properly. Adjust the placement if necessary.
- Secure and Tidy Up: Once satisfied with the setup, secure all wires and tidy up any loose ends. Make sure everything is tightly fastened and won't come loose while driving.
Legal Considerations and Safety Tips
While underglow lights can make your car look cool, it's important to be aware of the legal regulations in your area. Some regions have restrictions on the colors and brightness of underglow lights, especially while driving on public roads. Always check local laws to ensure compliance.
Additionally, prioritize safety during installation. Make sure the car is parked on a flat surface and use jack stands if you need to lift the vehicle. Wear protective gear like gloves and safety glasses to prevent injuries.
Conclusion
Installing underbody lighting is a fun and rewarding DIY project that can transform the look of your car. By following this guide, you can add a personal touch to your vehicle and enjoy the vibrant glow of underglow lights. Remember to consider legal regulations and prioritize safety throughout the process.
Think about what colors and styles best reflect your personality. Are you ready to make your car shine?
 CarChooser