DIY Guide to Installing a Body Kit: Transform Your Car's Appearance
Step-by-step instructions for selecting and installing a body kit to give your car a fresh, customized look.

Are you looking to give your car a fresh, customized look? Installing a body kit can dramatically change your vehicle's appearance, making it stand out on the road. This guide will walk you through the process of selecting and installing a body kit, even if you're a beginner.
Understanding Body Kits
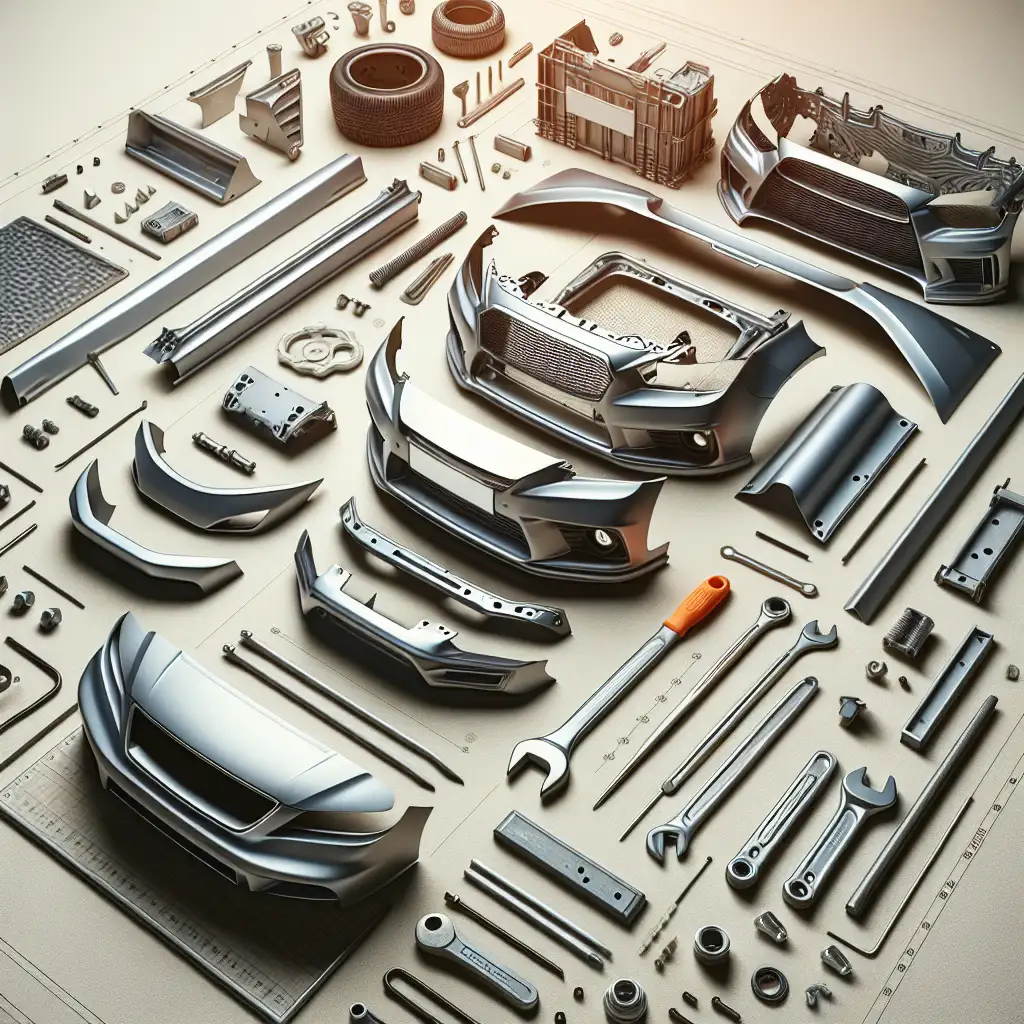
Before diving into the installation process, it's important to understand what a body kit is. A body kit typically includes a set of modified body parts or additional components that are installed on a car to enhance its appearance and aerodynamics. Common components include front and rear bumpers, side skirts, spoilers, and sometimes fender flares.
Choosing the Right Body Kit
Consider Your Car Model
Not all body kits are universal. It's crucial to select a kit that is specifically designed for your car's make and model. This ensures a proper fit and reduces the need for extensive modifications.
Material Matters
Body kits are made from various materials, each with its own pros and cons:
- Fiberglass: Affordable and easy to repair, but can be brittle.
- Polyurethane: Durable and flexible, but heavier and more expensive.
- Carbon Fiber: Lightweight and strong, but very costly.
Style and Functionality
Consider the style you want to achieve. Do you prefer a subtle enhancement or a bold transformation? Additionally, think about functionality. Some kits improve aerodynamics, which can enhance performance.
Preparing for Installation
Gather Necessary Tools
Before starting, ensure you have all the necessary tools. Common tools include:
- Screwdrivers
- Socket set
- Drill and drill bits
- Sandpaper
- Adhesive and sealant
Work in a Suitable Environment
Choose a well-lit, spacious area to work in. A garage is ideal, but a driveway can also suffice. Ensure the area is clean to prevent dust and debris from affecting the installation.
Step-by-Step Installation Guide
Step 1: Test Fit the Kit
Before permanently attaching any parts, test fit each component to ensure proper alignment and fit. This step helps identify any necessary adjustments.
Step 2: Remove Existing Parts
Carefully remove any existing parts that will be replaced by the body kit. Keep all screws and fasteners in a safe place for reinstallation.
Step 3: Prepare the Surface
Clean the areas where the new parts will be installed. Use sandpaper to smooth any rough edges and ensure a clean surface for adhesion.
Step 4: Install the New Components
Begin installing the new parts, starting with the front bumper, followed by side skirts, and then the rear bumper. Use the provided hardware and follow the manufacturer's instructions closely.
Step 5: Secure and Seal
Once all parts are in place, secure them with screws and adhesive. Apply sealant to any gaps to prevent water ingress and ensure a seamless look.
Step 6: Final Adjustments
Check the alignment of all components and make any necessary adjustments. Ensure all parts are securely fastened and aligned properly.
Post-Installation Tips
After installation, avoid washing your car for at least 24 hours to allow adhesives to cure. Regularly check the body kit for any signs of loosening or damage, especially after driving on rough roads.
 CarChooser