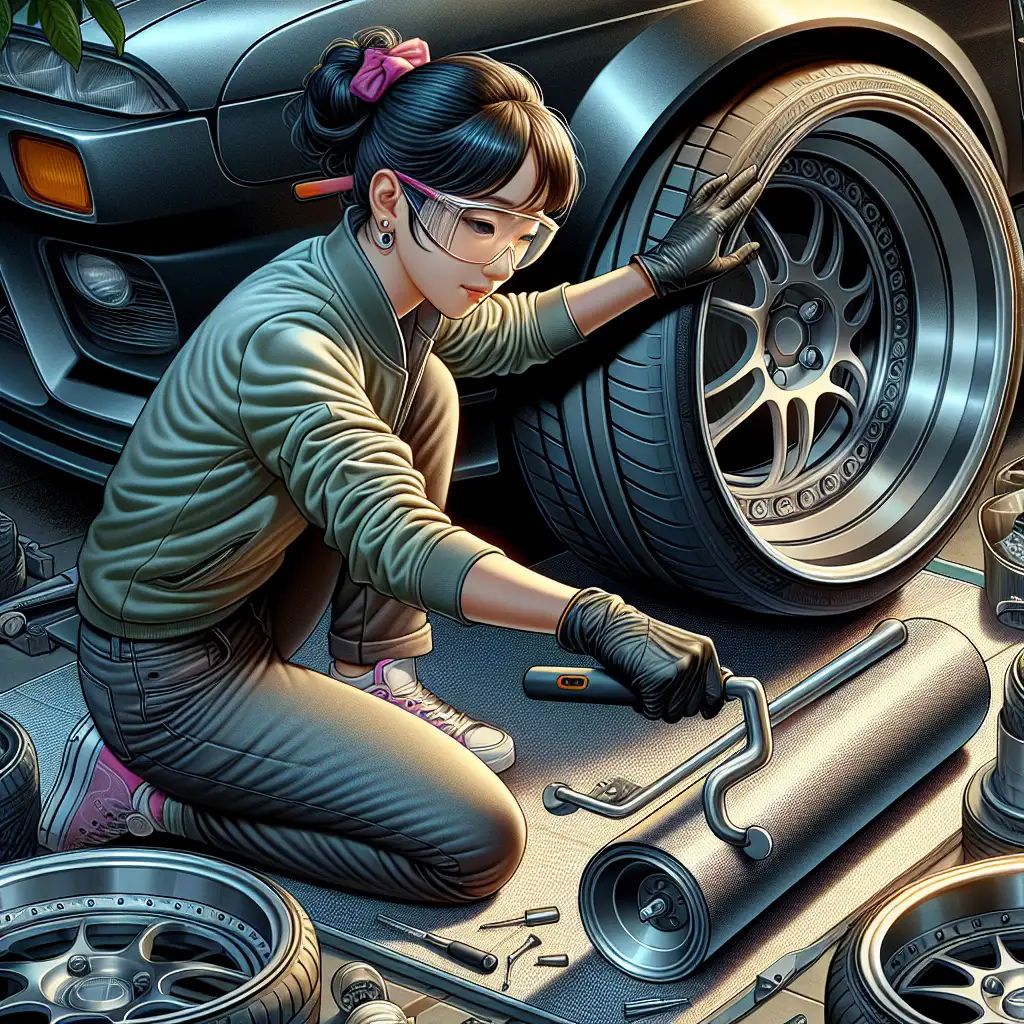
DIY Fender Rolling for Larger Wheels and Tires: A Step-by-Step Guide
Learn how to modify your car's fenders to fit bigger wheels without causing damage.

Are you thinking about upgrading your car with larger wheels and tires? It's a popular modification that can enhance both the look and performance of your vehicle. However, bigger wheels often require more space, and that's where fender rolling comes in. Fender rolling is a technique used to modify your car's fenders to prevent them from rubbing against the new, larger tires. In this guide, we'll walk you through the process of DIY fender rolling, ensuring you can make these modifications safely and effectively.
Understanding Fender Rolling
Before diving into the process, let's clarify what fender rolling is. Essentially, fender rolling involves bending the inner lip of your car's fender to create more clearance for larger wheels and tires. This is crucial to avoid tire rubbing, which can damage both the tires and the fenders over time. The inner lip is the part of the fender that curves inward towards the tire. By rolling it, you effectively push it out of the way, creating more space.
Tools and Materials Needed
To roll your fenders, you'll need a few specific tools and materials:
- Fender Roller Tool: This is a specialized tool designed to roll the fender lip safely.
- Heat Gun: Used to warm up the paint and metal, making them more pliable and reducing the risk of cracking.
- Jack and Jack Stands: To lift and secure your car safely.
- Lug Wrench: For removing the wheels.
- Masking Tape: To protect the paint around the fender area.
Step-by-Step Fender Rolling Process
Now that you have your tools ready, let's get started with the fender rolling process:
- Prepare Your Car: Start by parking your car on a flat surface. Use the jack to lift the car and secure it with jack stands. Remove the wheels using the lug wrench.
- Protect the Paint: Apply masking tape around the edge of the fender to protect the paint from potential damage during the rolling process.
- Heat the Fender: Use the heat gun to warm up the fender's edge. This step is crucial as it makes the paint and metal more flexible, reducing the risk of cracking.
- Roll the Fender: Attach the fender roller tool to the hub where the wheel was. Adjust the tool so that the roller is pressing against the fender lip. Slowly roll the tool back and forth, applying gentle pressure to bend the lip upwards. Take your time to avoid damaging the fender.
- Check Your Work: Once you've rolled the fender, inspect it to ensure there are no cracks in the paint and that the lip is evenly rolled. Reattach the wheels and lower the car.
Common Questions and Tips
Here are some common questions and additional tips to help you with fender rolling:
- Is fender rolling safe for my car? Yes, when done correctly, fender rolling is safe and won't damage your car. Just be sure to use the right tools and techniques.
- Can I do this on my own? While it's possible to do it yourself, having a friend to help can make the process easier and safer.
- What if I don't have a fender roller tool? You can rent one from many auto parts stores or online.
Conclusion
Fender rolling is a practical solution for accommodating larger wheels and tires on your vehicle. By following this guide, you can perform the modification yourself, saving money and ensuring your car looks and performs its best. Remember, patience and precision are key to a successful fender rolling job. Think about what features matter most to you. Do you need extra cargo space? If so, larger wheels might be the perfect upgrade for your vehicle.
 CarChooser