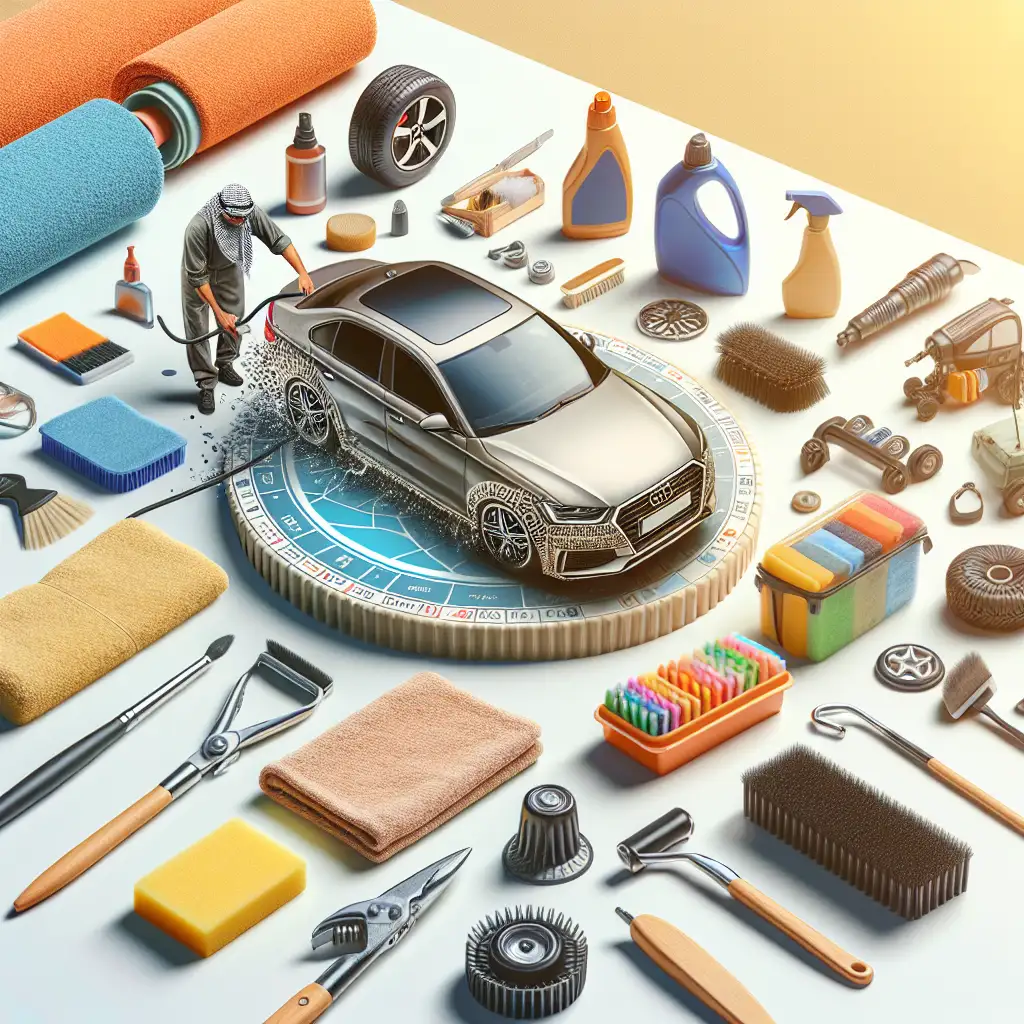
DIY Car Detailing: Achieve Professional Results at Home
Advanced detailing techniques for enthusiasts aiming for a showroom shine.

For car enthusiasts, there's nothing quite like the satisfaction of seeing your vehicle gleam with a showroom shine. While professional detailing services can be costly, achieving similar results at home is entirely possible with the right techniques and tools. This guide will walk you through advanced car detailing methods, helping you transform your car into a head-turner without breaking the bank.
Understanding Car Detailing
Before diving into the techniques, it's essential to understand what car detailing entails. Car detailing is a meticulous cleaning and reconditioning process of both the interior and exterior of a vehicle. Unlike a regular car wash, detailing involves a more thorough cleaning, often including paint correction and protection.
Key terms to know include:
- Paint Correction: The process of removing imperfections from the car's paint surface, such as scratches, swirl marks, and oxidation.
- Clay Bar Treatment: A method used to remove contaminants from the car's paint, leaving it smooth and ready for polishing.
- Polishing: The act of using a polish to enhance the car's paint finish, often following paint correction.
- Waxing: Applying a protective layer to the car's paint to enhance shine and protect against environmental elements.
Advanced Detailing Techniques
Now that you have a basic understanding of car detailing, let's explore some advanced techniques to achieve that professional look.
1. Thorough Wash and Decontamination
Start with a comprehensive wash using a high-quality car shampoo. Avoid household detergents as they can strip away protective wax. Use a two-bucket method—one for soapy water and one for rinsing your wash mitt—to prevent dirt from scratching the paint.
After washing, use a clay bar to remove embedded contaminants. This step is crucial for a smooth surface, allowing for better polish and wax application.
2. Paint Correction
Paint correction is where the magic happens. Use a dual-action polisher with a suitable compound to remove surface imperfections. This step requires patience and practice, so start with a small area to get the hang of it. Remember, less is more; apply minimal pressure and let the machine do the work.
3. Polishing and Waxing
Once the paint is corrected, it's time to polish. Choose a polish that matches your car's paint type and apply it using a clean pad on your polisher. This step enhances the paint's clarity and depth.
Finish with a high-quality wax or sealant to protect your hard work. Waxing not only adds shine but also provides a protective barrier against UV rays and contaminants.
4. Interior Detailing
Don't forget the interior! Vacuum thoroughly, clean all surfaces with appropriate cleaners, and condition leather seats if applicable. Pay attention to details like air vents and door jambs for a complete clean.
Comparisons and FAQs
Many wonder if DIY detailing can truly match professional results. The answer is yes, with the right tools and techniques. While professionals have experience, enthusiasts can achieve similar outcomes with dedication and practice.
FAQs:
- How often should I detail my car? Ideally, a full detail should be done every 4-6 months, with regular maintenance washes in between.
- Can I use household products for detailing? It's best to use products specifically designed for cars to avoid damaging surfaces.
Conclusion
Achieving a professional-level car detail at home is not only possible but also rewarding. By following these advanced techniques, you can ensure your car looks its best, turning heads wherever you go. Remember, practice makes perfect, so don't be discouraged if it takes a few tries to master these skills.
Think about what features matter most to you. Do you need extra cargo space? Or perhaps a sleek, shiny exterior is your top priority. Whatever your needs, a well-detailed car can enhance your driving experience and pride of ownership.
 CarChooser