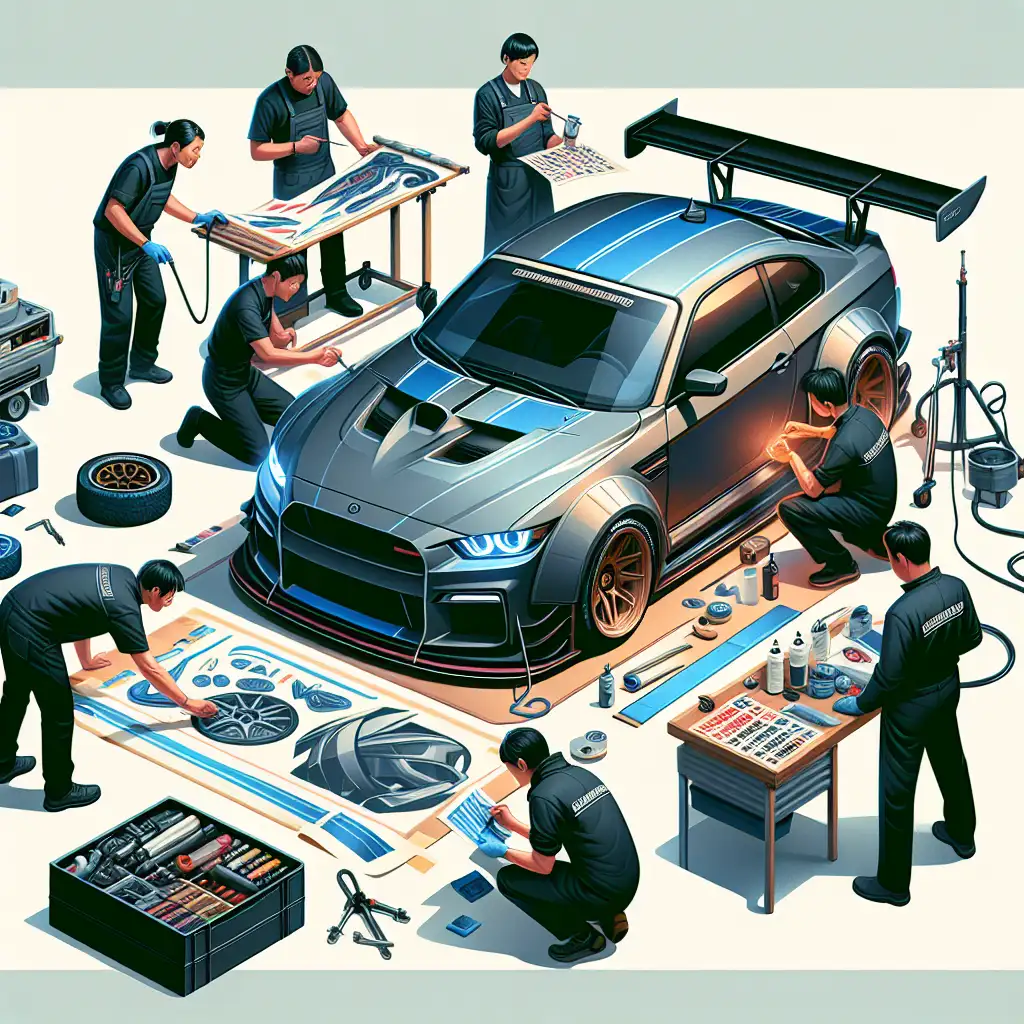
Adding Decals and Graphics: Tips for a Professional Look
Learn how to apply decals and graphics to enhance your car's style.

Have you ever admired a car with eye-catching decals or graphics and wondered how you could achieve a similar look? Adding decals and graphics to your car is a fantastic way to personalize your vehicle and make it stand out. Whether you're looking to add a subtle touch or make a bold statement, applying decals can enhance your car's style without breaking the bank. In this guide, we'll walk you through the process of applying decals and graphics to ensure a professional finish.
Understanding Decals and Graphics
Before diving into the application process, it's important to understand what decals and graphics are. Decals are designs printed on a special paper that can be transferred to another surface, like your car. They come in various shapes, sizes, and colors, allowing for endless customization options. Graphics, on the other hand, are larger designs that can cover significant portions of your vehicle, often used for branding or artistic expression.
When choosing decals or graphics, consider the material. Vinyl is the most popular choice due to its durability and weather resistance. It's also easy to apply and remove, making it ideal for car enthusiasts who like to change their vehicle's look frequently.
Steps to Apply Decals and Graphics
Applying decals and graphics might seem daunting, but with the right approach, you can achieve a professional look. Here’s a step-by-step guide:
- Clean the Surface: Start by thoroughly cleaning the area where you plan to apply the decal. Use soap and water to remove dirt and grease, then dry the surface completely.
- Plan Your Design: Before peeling off the backing, position the decal on your car to visualize the final look. Use masking tape to hold it in place temporarily.
- Peel and Stick: Carefully peel the backing off the decal, starting from one corner. As you peel, press the decal onto the car, smoothing it out with a squeegee or credit card to avoid air bubbles.
- Secure the Edges: Once the decal is in place, go over the edges with the squeegee to ensure they are firmly attached.
- Final Touches: If there are any air bubbles, use a pin to gently pop them and smooth out the area.
Common Mistakes to Avoid
Even with the best intentions, mistakes can happen. Here are some common pitfalls to avoid:
- Skipping the Cleaning Step: A dirty surface can prevent the decal from sticking properly.
- Rushing the Process: Take your time to ensure the decal is applied smoothly and evenly.
- Ignoring Temperature: Apply decals in a moderate temperature environment. Extreme heat or cold can affect adhesion.
FAQs About Car Decals and Graphics
Q: Can I remove decals without damaging my car's paint?
A: Yes, most vinyl decals can be removed without damaging the paint. Use a hairdryer to warm the decal, making it easier to peel off.
Q: How long do decals last?
A: High-quality vinyl decals can last up to 5-7 years, depending on exposure to elements.
Conclusion
Adding decals and graphics to your car is a fun and creative way to express your personality. By following these tips, you can achieve a professional look that enhances your vehicle's style. Remember, the key to a successful application is preparation and patience. Think about what designs resonate with you and how they can reflect your style. Happy decorating!
 CarChooser